Sour Cream Enchiladas
March 27, 2011Howdy friends and family! I am back and ready to deliver you a taste of my homemade Sour Cream Enchiladas. Some of you may be wondering where in the heck I’ve been. Some of you know that I am guilty – guilty of living my zesty life and not sharing my delicious recipes, food and some serious fun times as of late, both of which I have been consuming in mass quantity. It’s all a part of my evil zesty plan. Nah. Really, I have much to share with y’all and thought I would start in my zesty kitchen. Ready?
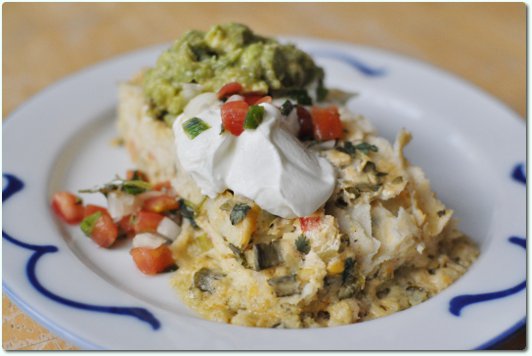
I crave Sour Cream Enchiladas. So much so, that as soon as my rendezvous with SXSW ended, (and my perpetual SXSW hangover began) I made a batch up for the family and me to munch on. And munch I we did. Now let me tell you that since I am feeling so dang guilty and want to make it up to you, I will double your pleasure and will shortly post up C$’s famous Guacamole to serve it with. You can see it piled high, right atop my heaping plate. Ah, heaven. Sour Cream Enchiladas are the best, are simple to make, plus they won’t break the bank. This is truly an adaptable dish with endless variations – think shredded chicken, shrimp, or crab in these babies – YUM! Not to mention this dish can be made into a lower fat version using low fat sour cream and cheeses. But I truly love my Sour Cream Enchiladas full fat and straight up. Smile.
Of course the choice is yours.
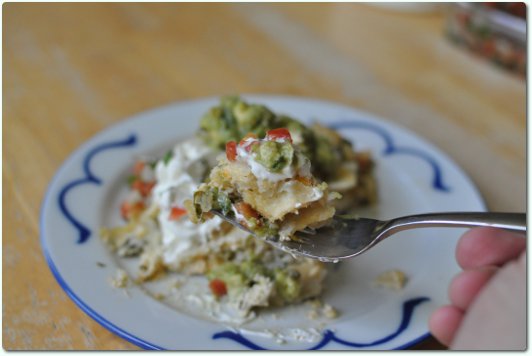
And I just love choices, and LOVE Sour Cream Enchiladas even more.
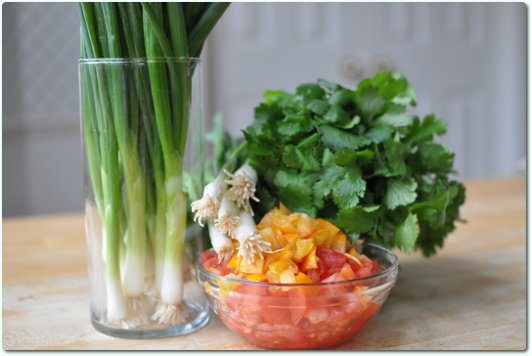
Ingredients: 2-3 bunches of Green Onions, 1 bunch of Cilantro, 1 large chopped ripe tomato,
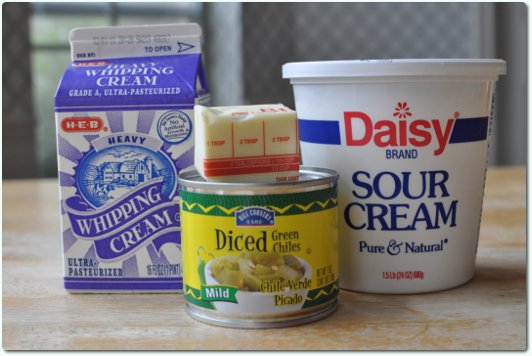
4 cups (1 qt.) sour cream, ½ cup cream, ¼ cup unsalted butter, melted and one 7oz. can mild diced green Chiles.
*OR if you like it hot, substitute with a can of diced jalapeños
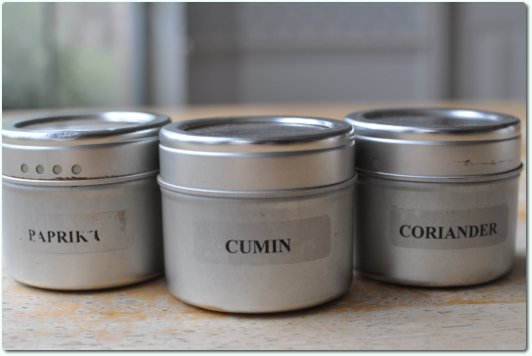
It’s time for the spice! In a small bowl add ½ teaspoon cumin, ½ teaspoon paprika, 1 teaspoon coriander,
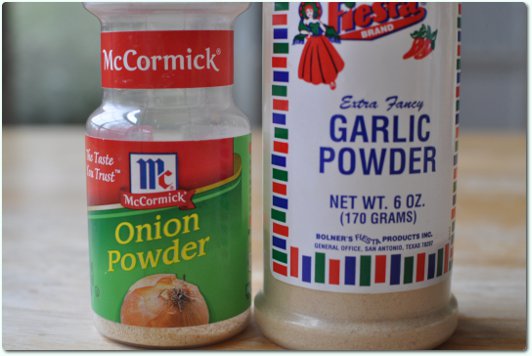
½ teaspoon garlic powder, 1 teaspoon onion powder, 1 teaspoon salt and pepper to taste.
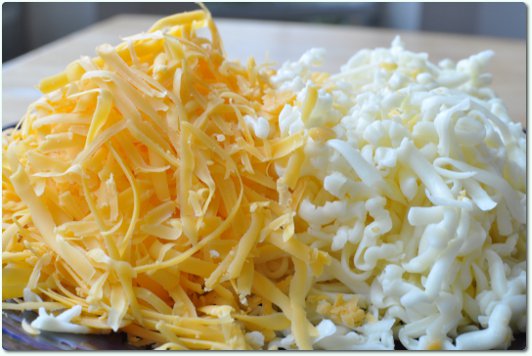
Grate the jack and cheddar cheeses and set aside. It ain’t easy being cheesy. Or is it?
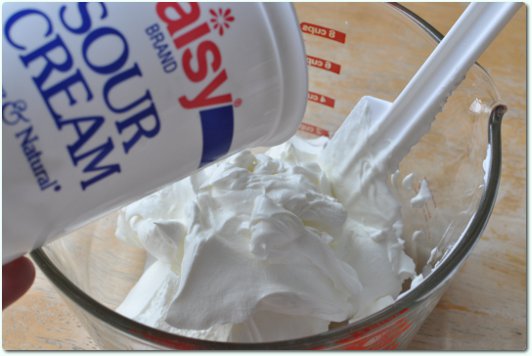
In a large mixing bowl add the sour cream,
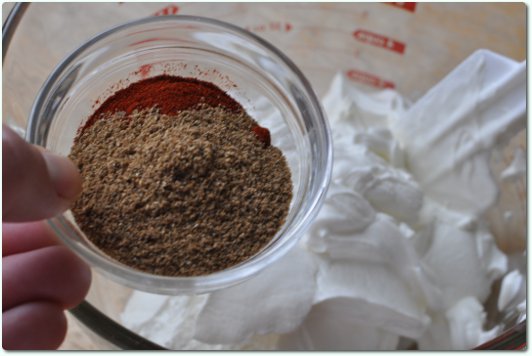
spices,
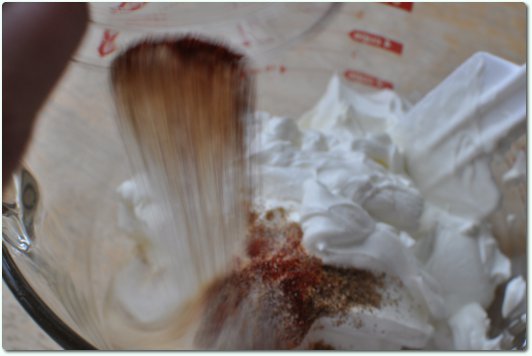
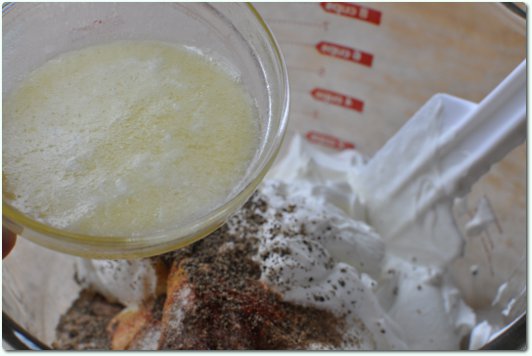
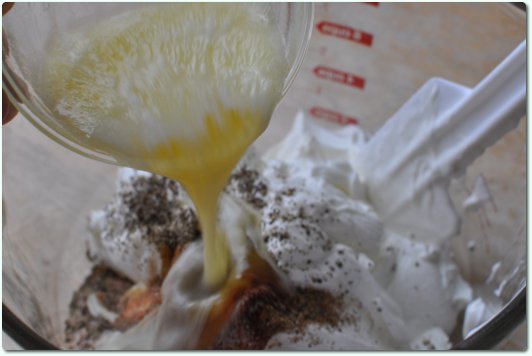
melted butter
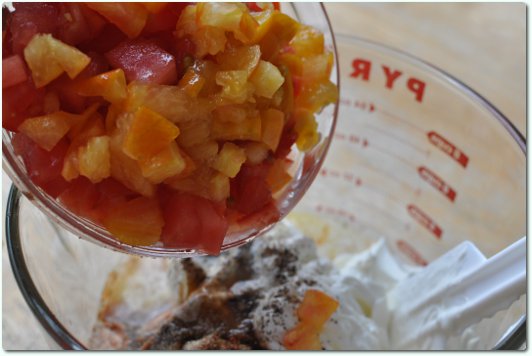
and glorious tomatoes. I chopped two very ripe heirloom tomatoes. Look at the beautiful red and orange colors!
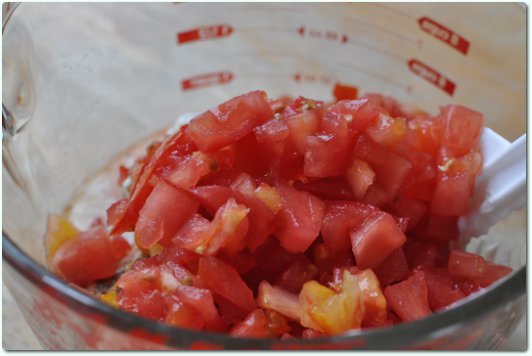
Speaking of tomatoes, I planted three varieties last month and CANNOT wait for the harvest…
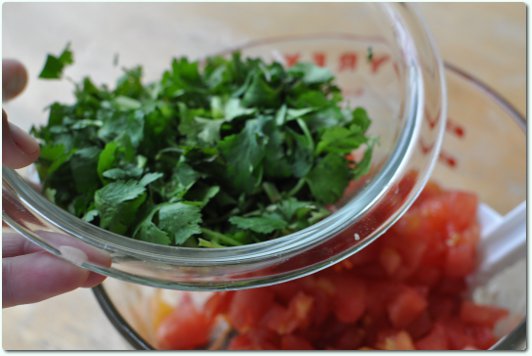
Add the chopped cilantro,
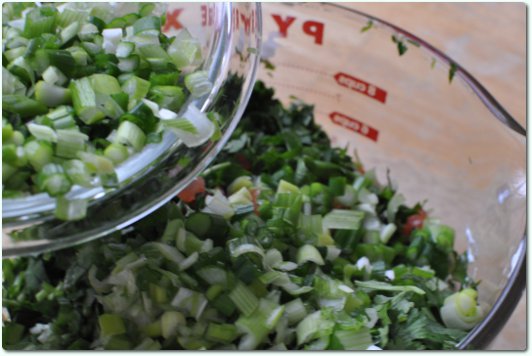
and the true star of the show, chopped green onions.
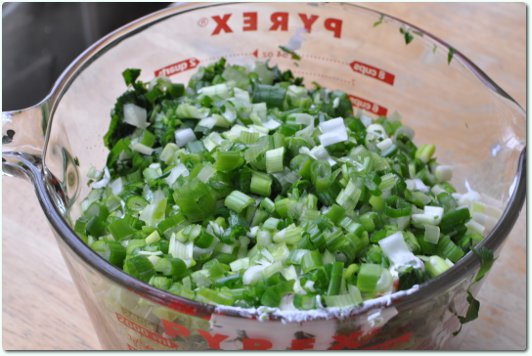
Bunches and bunches of green onions provide healthy benefits and a ton of flavor!
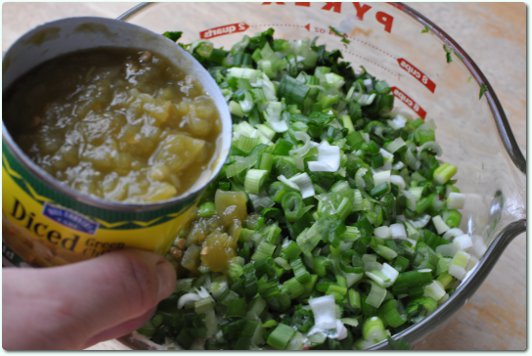
Now add the can of diced green chiles,
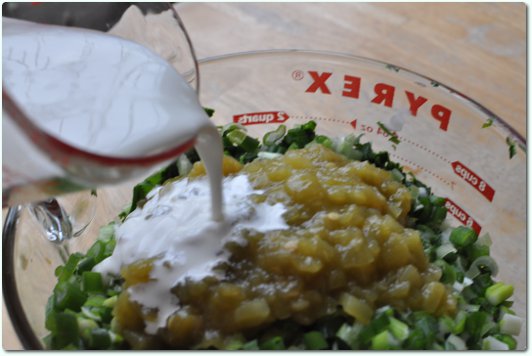
cream,
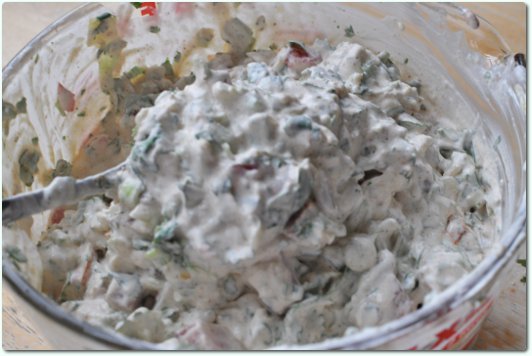
and give it a good stir.
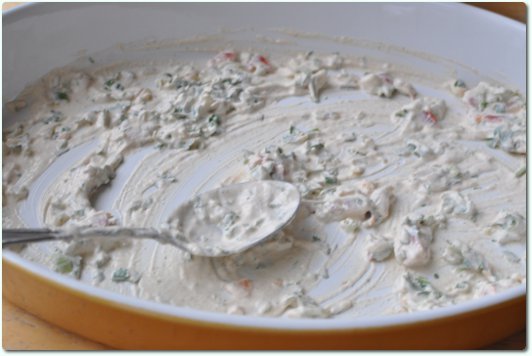
Spread a thin layer of this mixture on the bottom of a 13×9 baking dish.
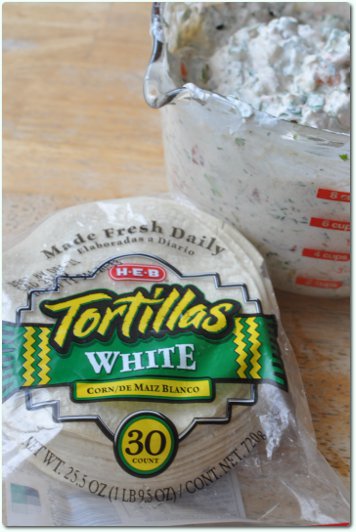
Grab the tortillas and get ready to fill. You’ll need sixteen tortillas in all. I chose white corn, probably ‘cuz they were on sale, but any kind will do.
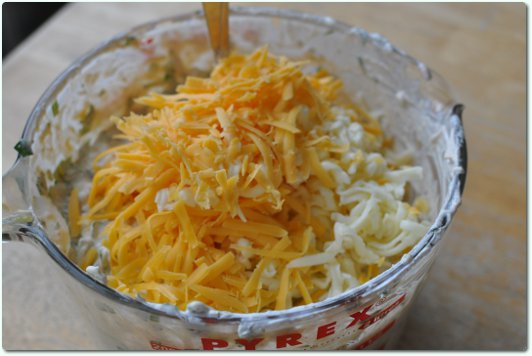
Get ready to be cheesy and add in the grated cheese. See? So easy.
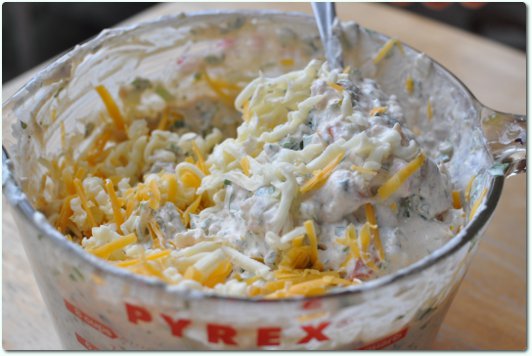
Give it all a good stir and there you have it – a sour cream filling worth taste testing. Go ahead – just be sure to set aside about ¾ cup of filling for you to keep eating the top.
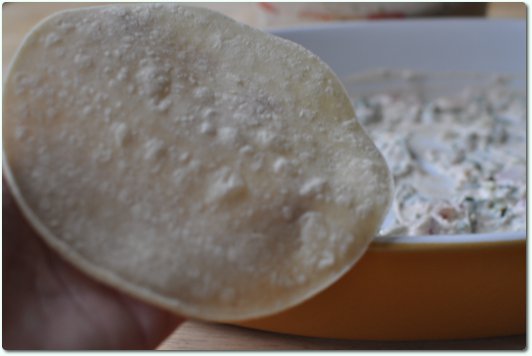
To fill, hold tortillas in the palm of your hand
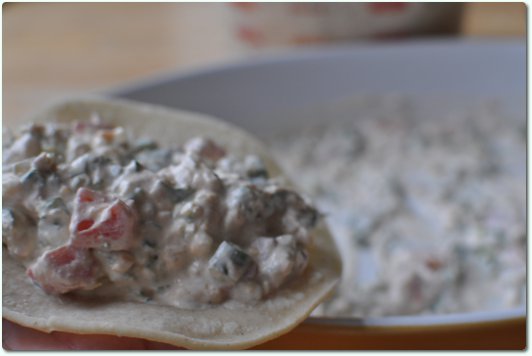
and fill by the spoonful.
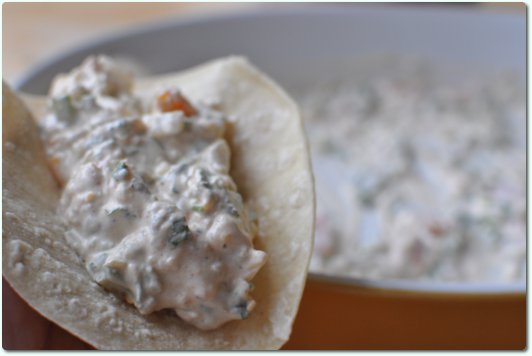
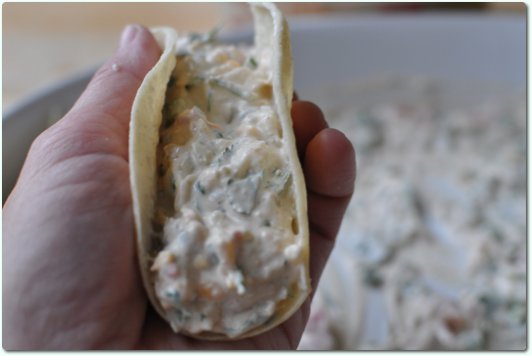
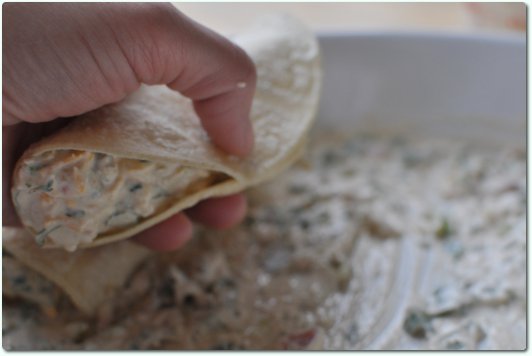
Place filled tortilla seam side down in the baking dish.
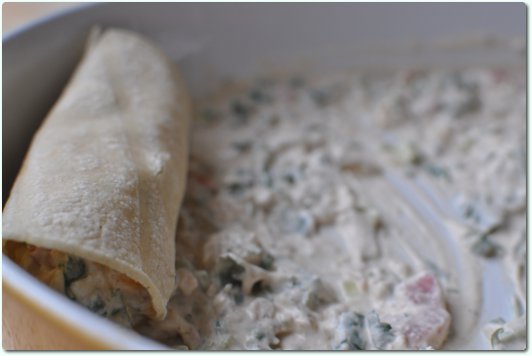
Keep going until all sixteen tortillas are filled. You may have to squeeze ‘em in on the sides. That’s okay. They are happy enchiladas!
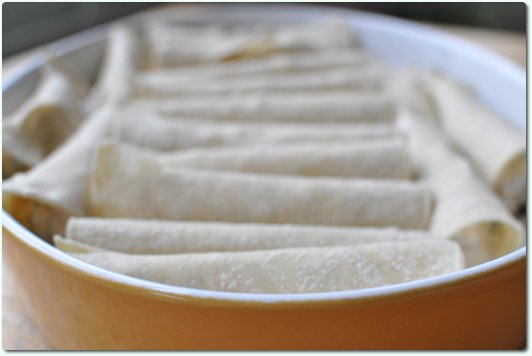
This is a perfect time to preheat the oven to 350°.
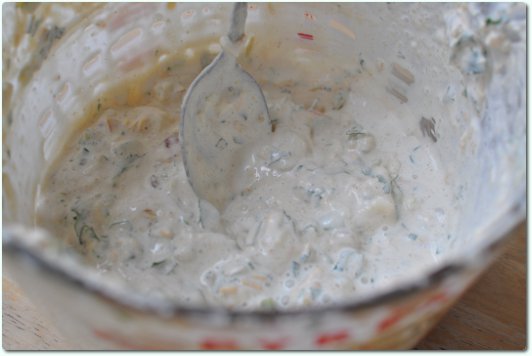
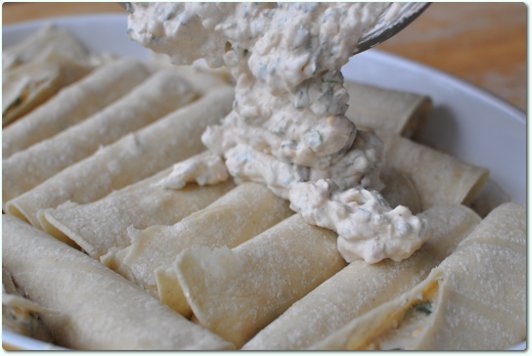
Remember that creamy delicious taste test? Hopefully you also remembered to have reserved ¾ cup of filling – for the top, NOT for filling your belly.
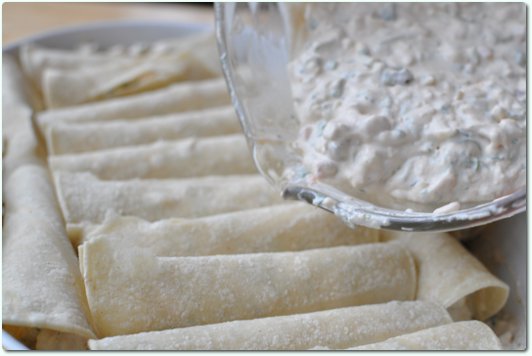
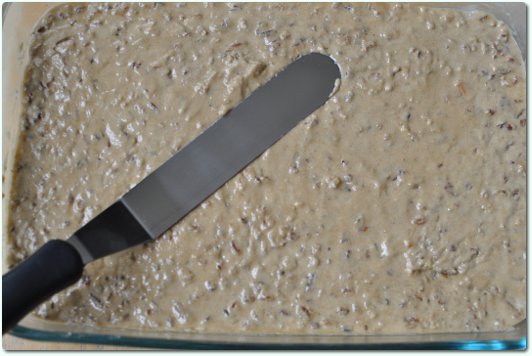
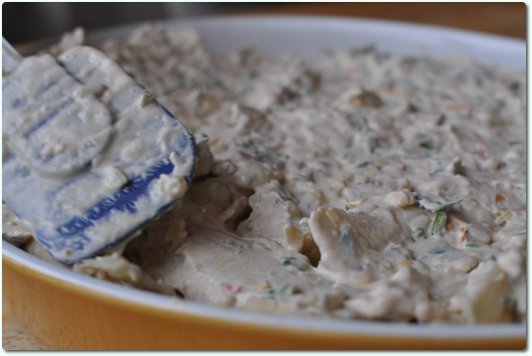
Spread the reserved creamy filling
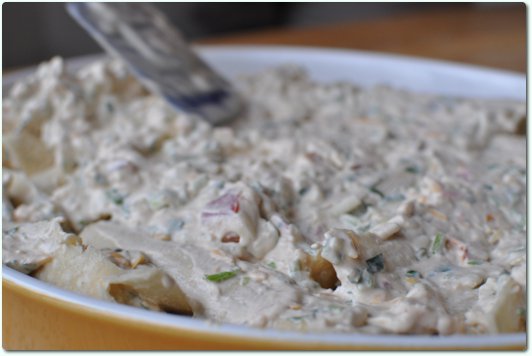
all over the top.
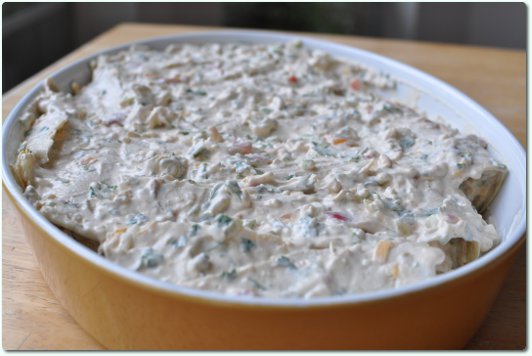
Pop it into the preheated oven and bake uncovered 40 minutes.
Get ready to start filling your belly with this -
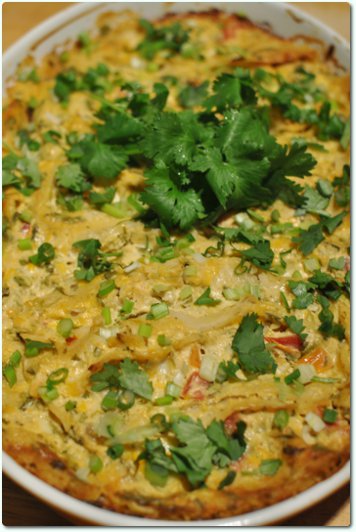
Sour Cream Enchiladas.
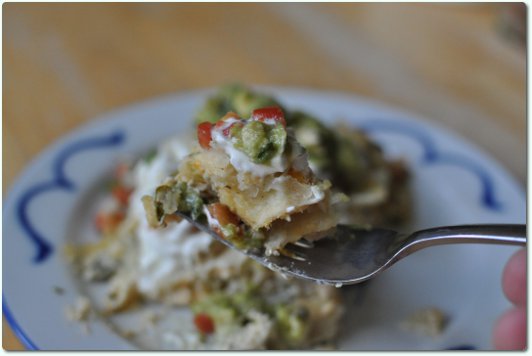
A mouth pleasing fiesta!
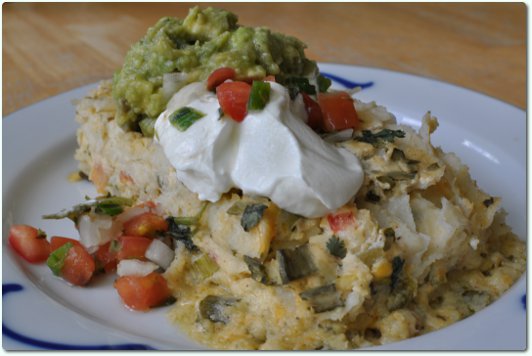
Served my style, “straight up” with Pico de Gallo, C$’s Guacamole and a dollop of sour cream.
¡Comer con gusto!
 Printable Recipe
Sour Cream Enchiladas
2-3 bunches green onions, chopped
1 bunch cilantro, coarsely chopped
1 large ripe tomato, chopped
4 cups sour cream
½ cup cream
¼ cup unsalted butter, melted
1 – 7oz. can diced green Chiles, mild OR if you like it hot, substitute with a can of diced jalapeños
½ teaspoon cumin
½ teaspoon paprika
½ teaspoon garlic powder
1 teaspoon onion powder
1 teaspoon coriander
1 teaspoon salt
pepper to taste
½ lb. Monterey jack cheese, grated
¼ lb. sharp cheddar cheese, grated
16 corn tortillas
Preheat oven to 350°.
In a large bowl, stir all of the ingredients together EXCEPT for the grated cheeses. Spread a thin layer on the bottom of a 13×9 baking dish. Add the grated cheeses to the sour cream mixture, stirring well to blend; set aside ¾ cup of filling for the top. Fill tortillas by the spoonful and place filled tortilla seam side down in the baking dish. Spread the reserved filling over the top.
Bake uncovered at 350° for 40 minutes. Serve with Pico de Gallo, and C$’s Guacamole.
